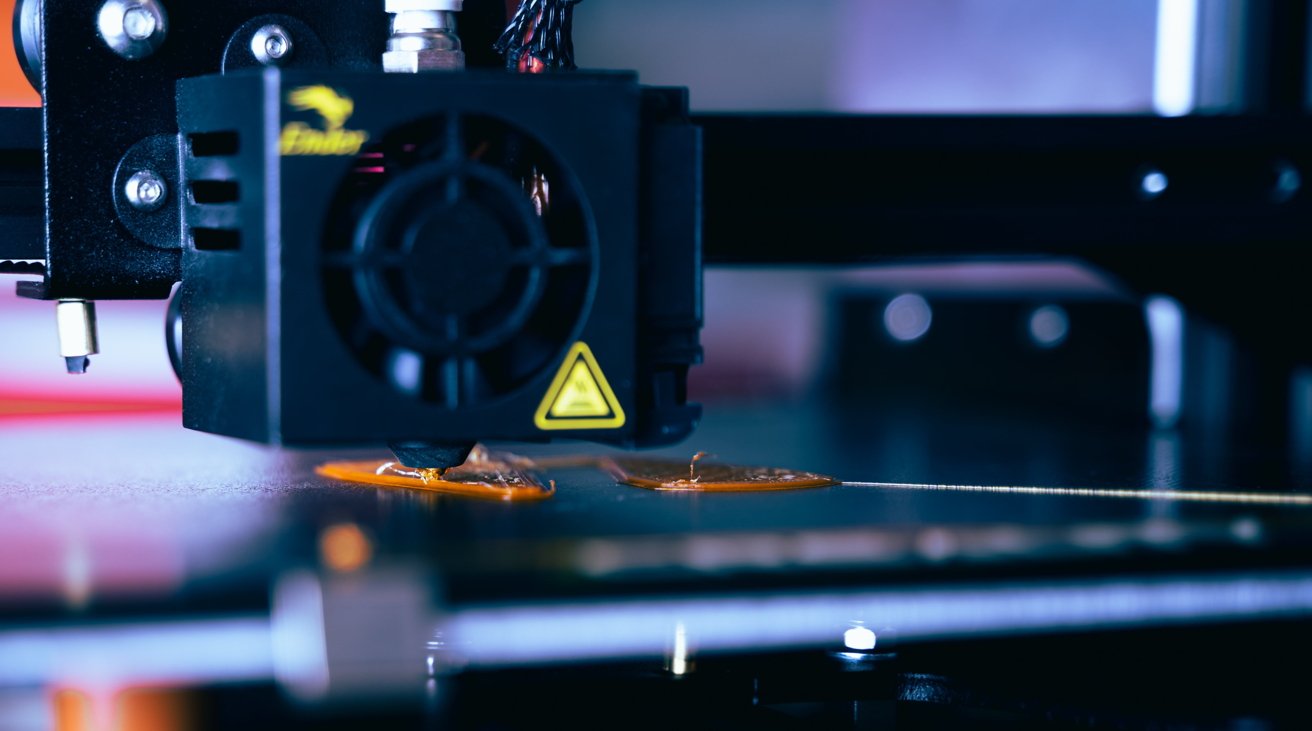
If you want to delve into the emerging ecosystem of 3D printing and own a Mac, iPhone, or iPad, here's what you need to know before you take your first foray and print your first test boat.
A natural progression of the maker movement, 3D printing has risen in popularity over the years, and has become a way for people to turn 3D models into real physical items.
The concept has practical utility, such as enabling a user to create a non-existent or replacement part or accessory for a device, all designed from home. Since the 3D models are digital, they can also be created one and distributed or sold to others, who can then adjust and print the model out on their own printers.
It's also helped create small businesses, allowing for small-scale production efforts to be performed by teams, rather than going through the usual expensive and lengthy manufacturing of components. For design teams, they can very quickly print and test an object, without needing to use a production line.
While a potentially useful tool to have, 3D printing isn't necessarily the best route for creating lasting objects. The prints are usually made from plastic, and may not necessarily offer the same level of strength as a properly manufactured object.
Even so, it is an exciting field to step into, and with the vast amount of 3D printers in the world, there's a 3D printer for practically anyone.
Here's some things to consider about your potential purchase.
How do they print?
The general process for printing is not that much different from normal paper printing in many respects. In each case, you define a thing to print (an image or a model), it gets set up to go through the printer, then gets sent to the printer itself.
The printer then outputs the requested print based on the instructions provided by the computer. After some waiting, you end up with your print (a printed page or a 3D bit of plastic).
There are other things to do as part of a 3D print though, such as scaling the model to match the size of the printer, defining the resolution and supports for the print through slicing software, selecting the material used for the print, and so on.
Just as you would expect when using a professional printer for 2D applications, such as creating signs, there are steps to follow when 3D printing. These will ultimately vary depending on your workflow and your selected printer, and you should look into what needs to be done before starting your 3D prints.
Types of 3D Printer
There are quite a few different types of technologies that 3D printers use to create models. For the purposes of this article, we will discuss the two main types you will encounter: FDM and Resin-based printing
Fused Deposition Modeling
The most commonly known type of 3D printing is Fused Deposition Modeling (FDM). Probably one of the cheapest technologies available, FDM involves heating a plastic filament and extruding it in layers on a platform.
As the layer slices are deposited, sometimes with a printed supporting structure, the extruder moves around and further away from the main build platform. After a few hours, all of the layers will have been laid and fused together into a single piece.
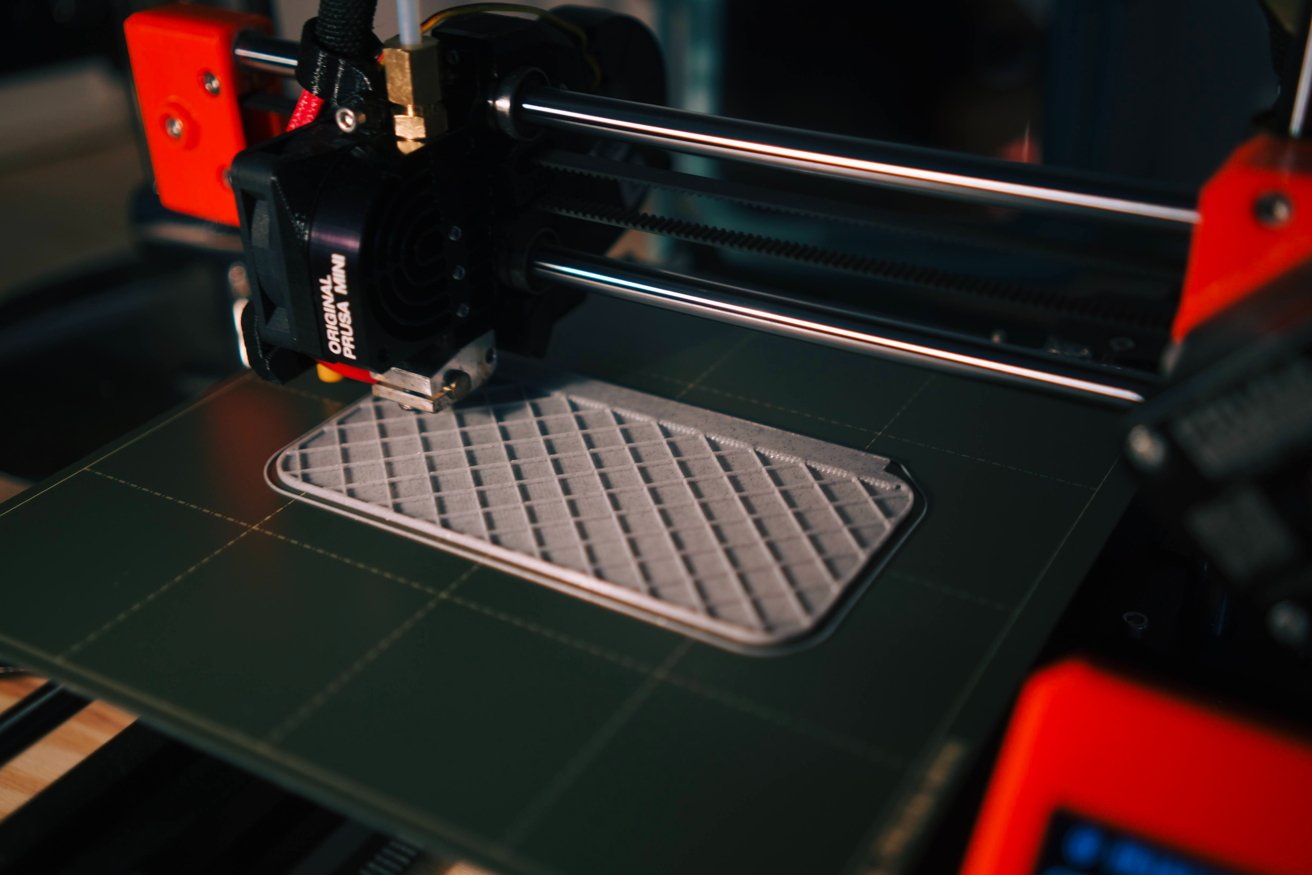
The benefits of FDM include the relatively low cost printers available that use it, as well as the reasonably cheap and wide variety of filaments you can use. You could also use different filaments with varying properties, and while you could use a thermoplastic filament, there are options to allow the printing of other materials too, even food-safe items.
The downside of FDM is its distinctive layered appearance after printing. If you want the print to be nice and smooth afterwards, you will have to perform some extra tasks to smooth or adjust it, such as acetone smoothing for a smooth and glossy finish.
Resin: SLA, DLP, and others
A second well-used 3D printing technique takes advantage of liquid photosensitive resin. While they differ in specifics, they all basically function the same way.
A built platform is placed into a vat of resin, and a light is shone onto the platform at a specific point. The resin reacts to the light, hardening in place and attached to the platform, which then moves up to allow another layer to be applied.
![An example of an SLA print [via Elegoo]](https://ios.im/usr/uploads/lantian/2022/07/b889cefe145137ff557f137436922d78.jpg)
The variations include Stereolithography (SLA), which uses a UV laser to cure the resin. Then there's Digital Light Processing (DLP), which uses a DLP projector for the same effect. There's also an LCD version that uses an LCD screen and UV light.
Resin is especially useful for delicate or detailed projects, with prints having a smooth surface rather than the telltale FDM lines.
Much like the use of different filaments in FDM, there are different resins you can acquire for resin-based printing. These can vary the toughness of the project being built, and there's even medical-grade resin available.
What should I look for?
Before looking at buying a 3D printer, you should work out how the prints themselves should be like.
If you want quick, cheap prints and don't care about visible lines, an FDM 3D printer may be the best option. On the other hand, resin printing offers a better finish, among other benefits like strength and better transparency for clear prints, but you have to deal with a messy liquid and model curing rather than just a reel of plastic.
If cost is a concern, then FDM may be the way to go, as the printers are simpler and generally cheaper than resin-based versions.
Then you have to consider the size of the prints that you want to make. Each printer has a varying build volume that dictates how big the print can be.
You may want to go for a more expensive larger printer for occasional big prints, as they can typically handle smaller print jobs just as easily.
The layer height is also important, as that determines the number of layers a printer can make, and how big each layer is. A smaller layer height will result in a smoother finish and more detail in the final print.
Then there are other elements such as if you want a basic single extruder or one with multiple extruder heads. A dual extruder could allow an FDM print to use two different materials in the same job, without you needing to switch filament.
You also have to consider where you're going to place this 3D printer, as it will take up space and generate noise for long periods while printing. If you're putting it in a ventilated space with little human traffic, such as a garage, you could go for anything, but printing in a spare room may require more thought about the enclosure.
If you're mechanically minded, you could go down the route of acquiring a 3D printer in kit form, rather than a fully ready-built one. Sure, you will have to spend time constructing it and it'll take longer to get going, but you will have more of an understanding of the printer's workings. You may even be able to save a bit of money, too, by getting a kit printer.
When you price out printers, don't forget the consumables, and don't over-buy them. Even the spools of plastic have expiration dates, where printing is not optimal after that date. Resin has storage requirements, and the longer you have a bottle open, the worse it will print.
Slicing and Support
Regardless of whether you want to acquire 3D models from places like Thingiverse or you want to make your own in tools like Blender or SketchUp, you still need to prepare it for printing in your selected printer.
Manufacturers of 3D printers usually provide some form of software for the job, handling slicing and support. Sometimes this is in standalone software.
Depending on the model, there may also be a cloud printing service available, which lets you slice and manage the print from the browser. This method is useful in that you could feasibly set up a print job anywhere on the planet, across the Internet.
Slicing refers to software turning a 3D model into instructions that a 3D printer has to follow. As the name implies, it slices the model into many layers, with each printed by the printer itself.
The support structure is also important, as it is intended to keep the 3D model from collapsing during a print. Without a removable support structure underneath overhanging or bridging sections of a print, those unsupported elements could sag down, away from the extruder's path and out of alignment of other pieces.
Without an adequate structure, prints with large overhanging sections can fail and waste filament.
Though you could use the supplied software, you could take it to be a starting point, and eventually move on to another tool.
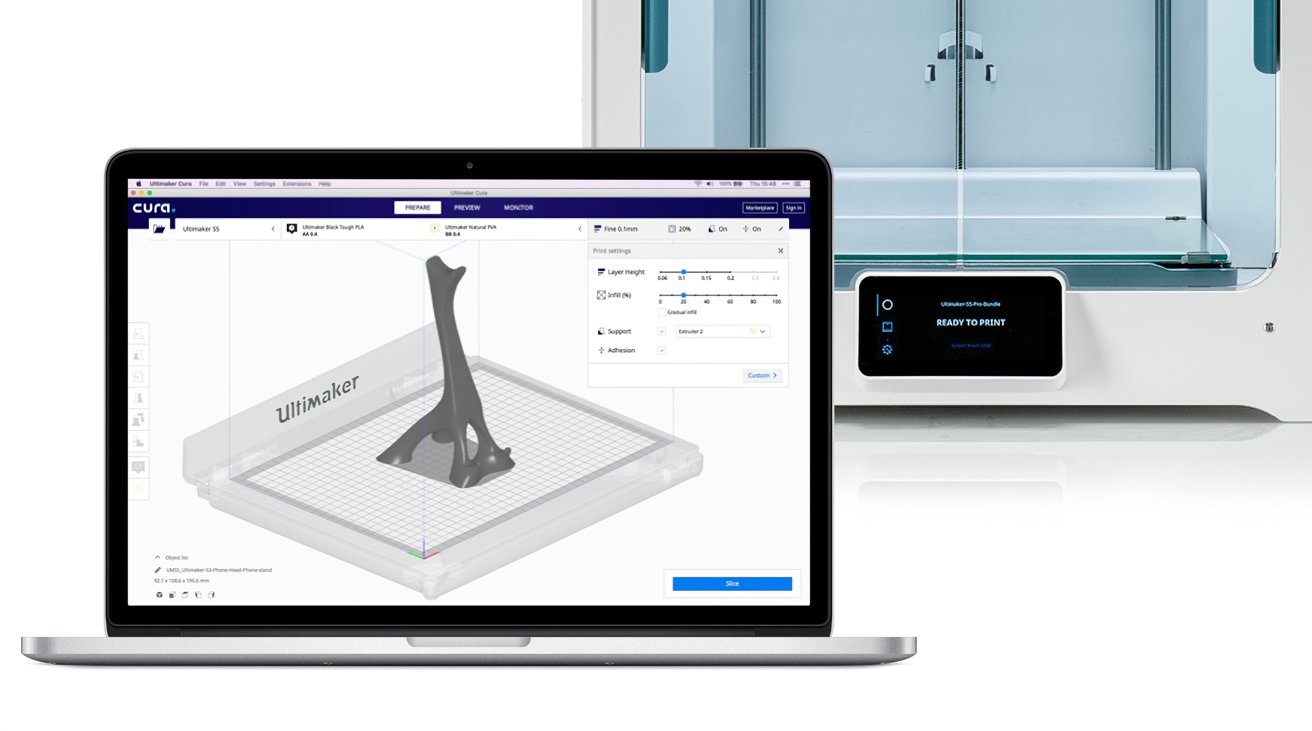
AppleInsider recommends Ultimaker Cura, an open-source tool that works with most filament-based 3D printers on the market. It's available for macOS, as well as Windows and Linux.
Able to handle slicing and support tasks, the tool is a great start for beginners. Presenting the essential elements users need in a clean and easy-to-use fashion, you can also enable more advanced modes that provide more settings as your knowledge of 3D printing grows.
Along with being extendable with plugins and integrating with other CAD software, it's also an attractive option due to the price. It's free to download, though you do have to sign up for a free account.
AppleInsider's 3D Printer Suggestions
A decade after release, there are an assortment of printers from a wide range of manufacturers. Here are some of the best that we've found and used.
Elegoo Saturn MSLA
Housed with an orange protective casing, the Elegoo Saturn is an SLA printer that uses an 8.9-inch 4K-resolution LCD screen for a high-resolution print. The company claims the size and quality of the screen enables a per-layer print time of under three seconds, making it a fast printer in its resin-based range.
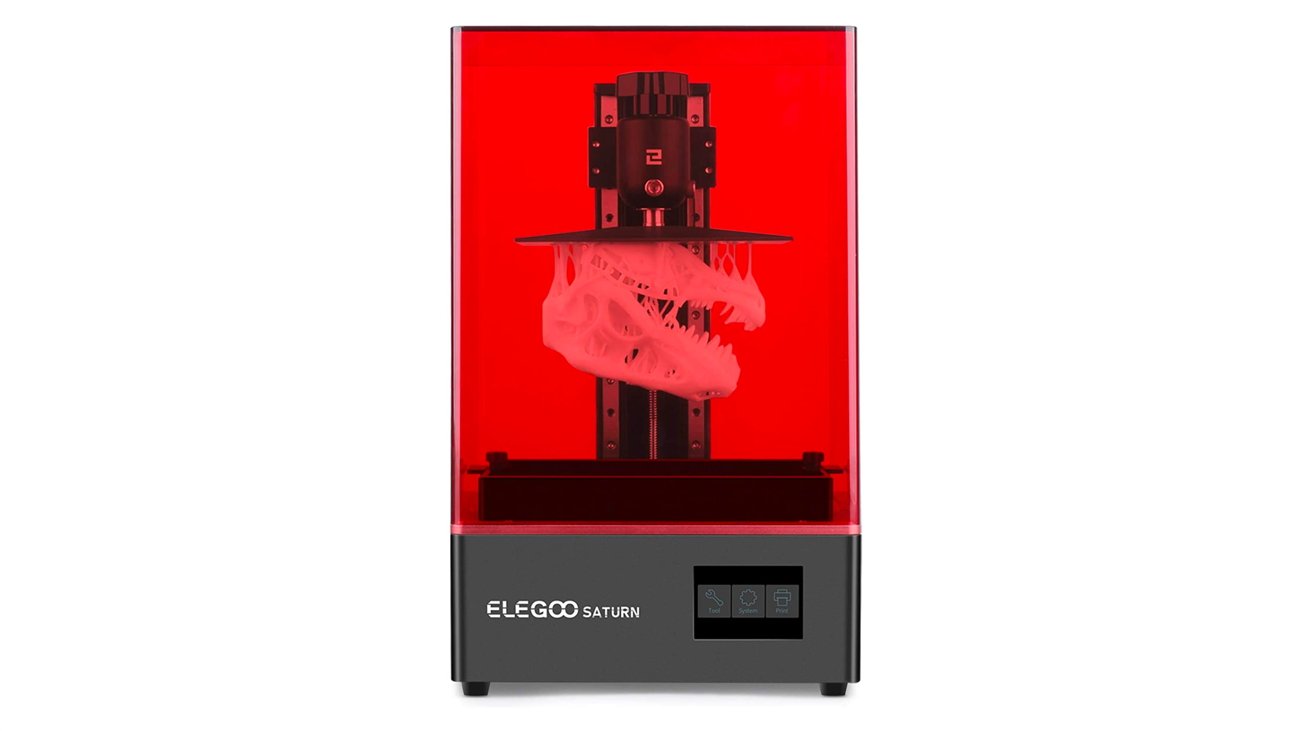
The printer has a sizable print volume of 7.55 inches by 4.72 inches by 7.87 inches, with the capability of printing multiple models at the same time. It uses a double linear guide-way structure for a steadier motion, with set screws to ensure users don't need to frequently calibrate the build plate.
While you could use an SD card or USB thumb drive to pass the model to the printer for printing, Elegoo includes an Ethernet port, so you can do it over the network instead.
Normally $499.99, the Elegoo Saturn is available from Amazon for $361.99.
Monoprice MP Mini SLA
If you want the benefits of resin-based printing but only for small stuff, the Monoprice MP Mini may be the answer. The compact unit is capable of producing prints as big as 4.6 inches by 2.6 inches by 4.3 inches, which is enough for small models such as miniatures for gaming or occasional replacement parts.
Using a 57-watt parallel UV LED array, it has an LCD resolution of 2560 by 1,440, with an x/y resolution of 0.05mm and a z-axis resolution of 0.025mm.
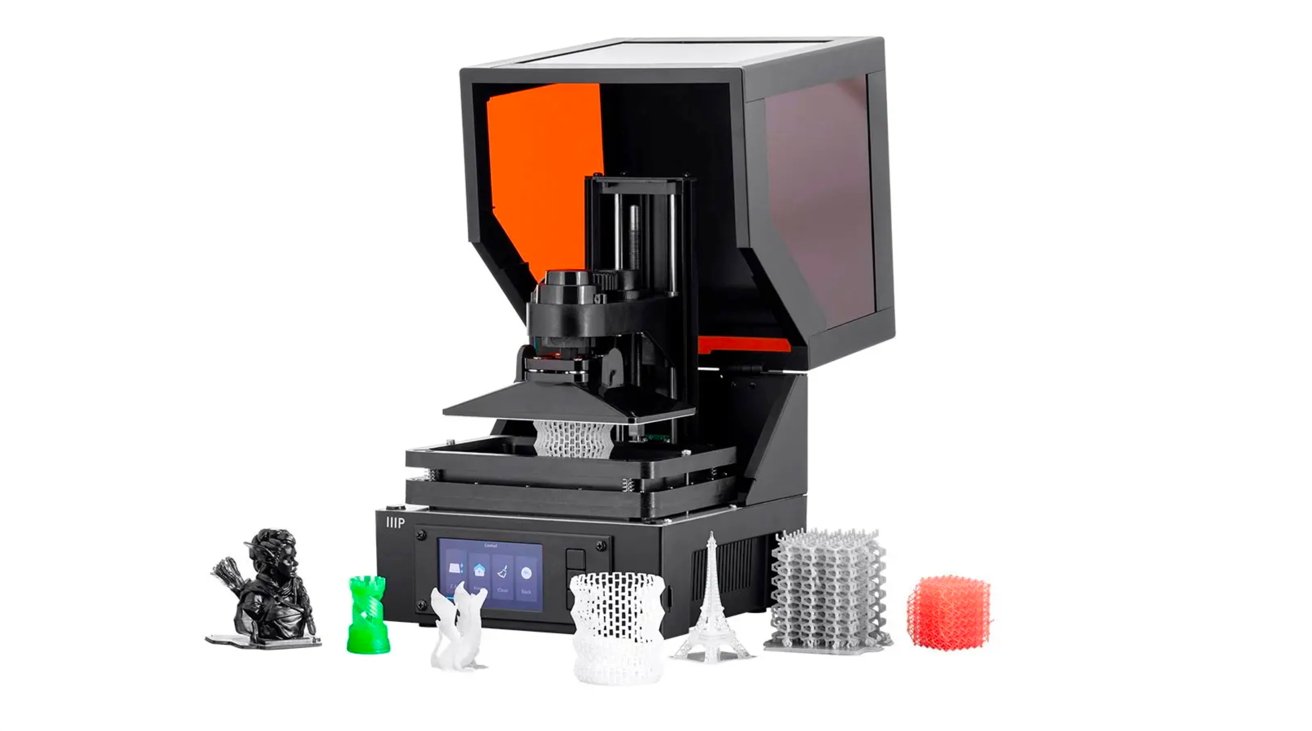
Almost ready to print out of the box, the system also uses an automatic build plate leveling system to ensure it is flush to the vat. That build plate is also magnetic, making it easy to remove and clean for successive jobs.
Able to take files from microSD or over Wi-Fi, the printer also has a simple web UI, so you can manage the printer from the comfort of your Mac.
The compact Monoprice MP Mini SLA usually costs $159.99, but is available for $99.99 from Monoprice's website.
Voxelab Aquila 3D Printer
If you fancy yourself to be technically minded and like to make your own tools, consider the Voxelab Aquila, an FDM printer kit. Based on an open-source design and technology, the Aquila can be supplied as a build-your-own 3D printer.
Sporting a layer thickness of between 0.1mm and 0.4mm, the single-nozzle printer is simple in its design and upkeep, with POM wheels for quiet running. It also has a removable carbon crystal silicon glass build platform, one that helps reduce warping bed issues and able to heat to print temperature in five minutes.
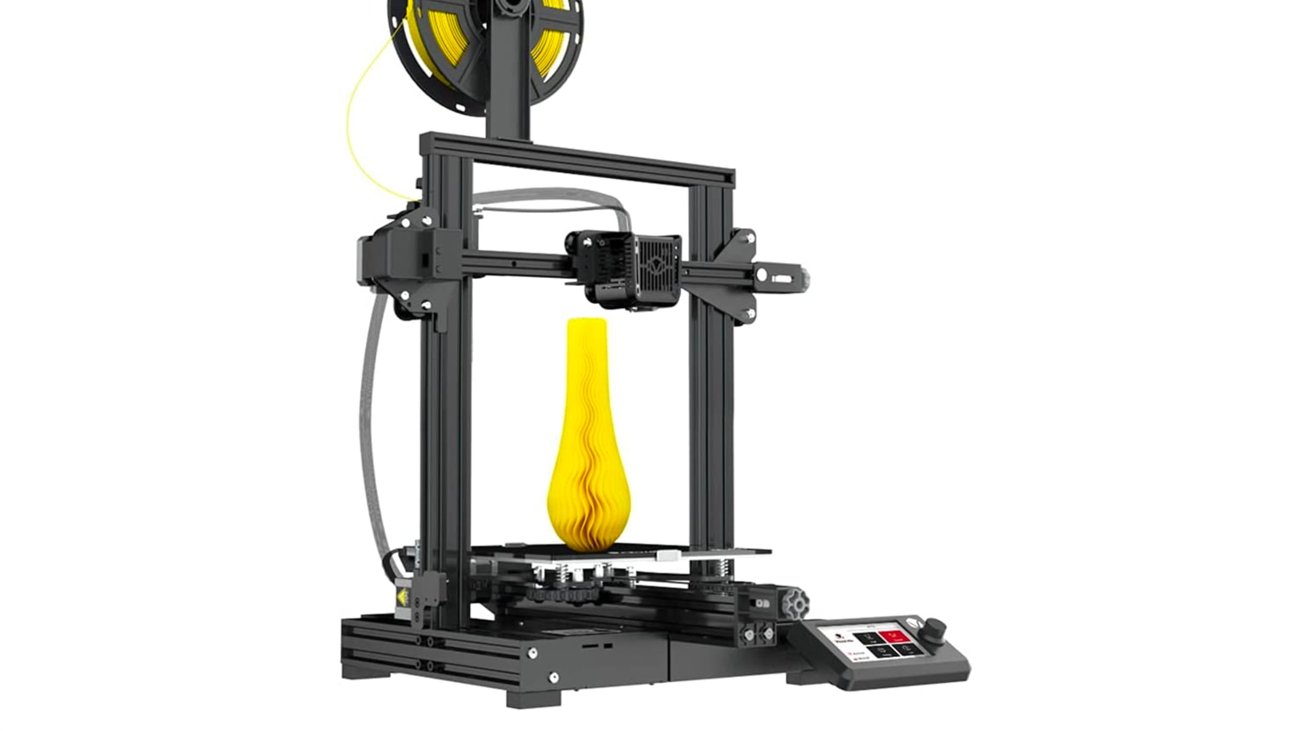
The DIY and open source nature also extends to users gaining access to the source code that runs it, with improvements able to be shared with other owners. There's even a resume printing function, which continues where it left off if the power is cut during a print run.
Normally $169, the Voxelab Aquila is available from Amazon for $159.99.
FlashForge Adventurer 3 Pro
Ideal for in-home prints, the FlashForge Adventurer 3 Pro is an enclosed FDM printer that operates at under 45 decibels. As well as encasing the print area from prying fingers, it also uses an enclosed spool holder.
Using a pair of 0.4mm nozzles that can be quickly switched with a single push, with a plastic casing around the nozzle to minimize contact with the hot element. The printer also has a smooth glass plate leveled in the factory that also auto-levels.
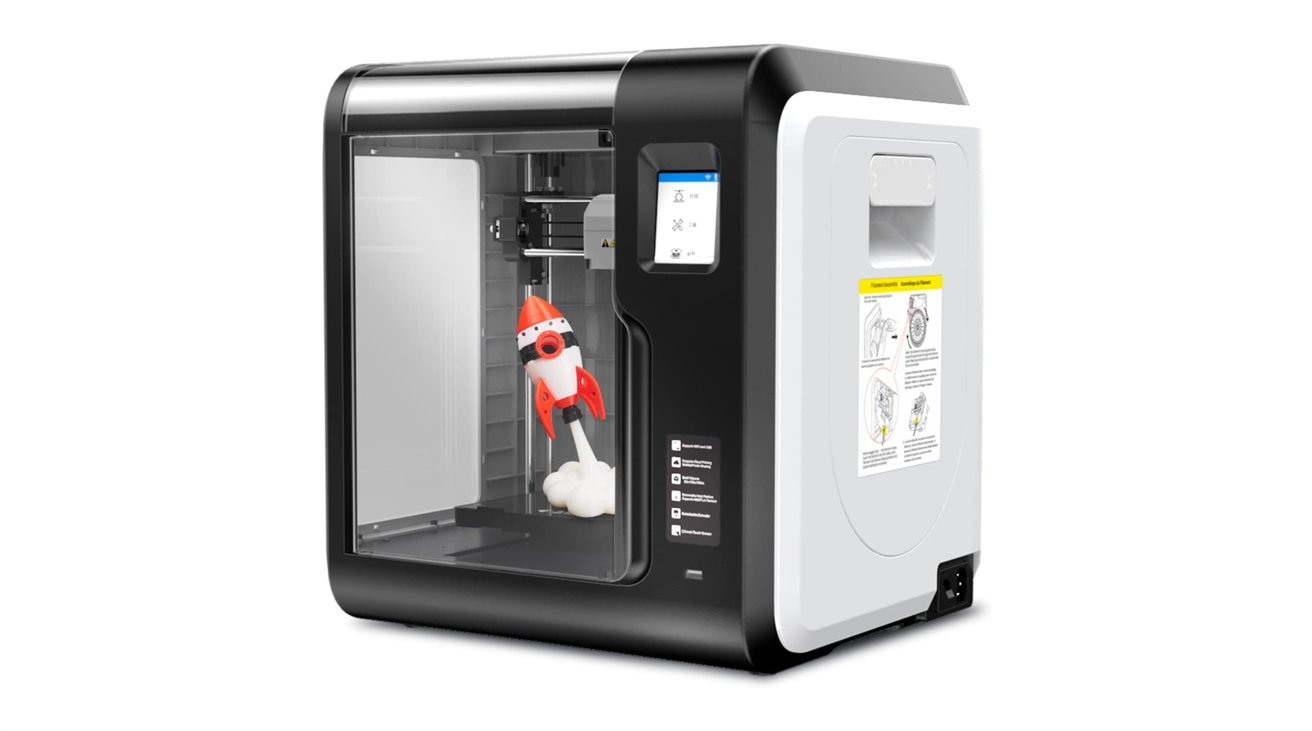
Able to print at 5.9 inches by 5.9 inches by 5.9 inches, the Adventurer 3 Pro can be connected to over Wi-Fi, and also has a cloud-based interface for browser-based management. There's even a built-in webcam, so you can view the progress of ongoing prints.
The FlashForge Adventurer 3 Pro is available from Amazon for $399.
3D printing is what you make of it
This primer is only a brief introduction to the printing hobby. There is so much more beyond the scope of this article.
Not only is 3D printing a hobby in itself, some of the kits can be expanded upon with prints made from that very same printer. They don't have to be, of course, but a small plastic manufacturing plant in your house opens up possibilities.
Do you need the perfect stand for your iPhone? Either download one from many of the repositories, or model your own. How about game pieces? While we wouldn't roll into a Games Workshop store and expect to play, ersatz models can be printed for pennies.
And then there's home improvement, accessory manufacture, repair parts, and the like. You're only limited by your modeling skill, your print area, and your consumable supply.